What makes them last minute? Me (of course)…and the fact that I got the “baking bug” at eight o’clock at night. What makes them easy? The fact that I had all the ingredients on hand (seriously, how often does that happen?).
Halloween can be a hectic time: coordinating costumes, buying candy, carving pumpkins and decorating.
Even with all that going on, there’s nothing I like better then adding a little last minute baking stress to really get the blood pumping.
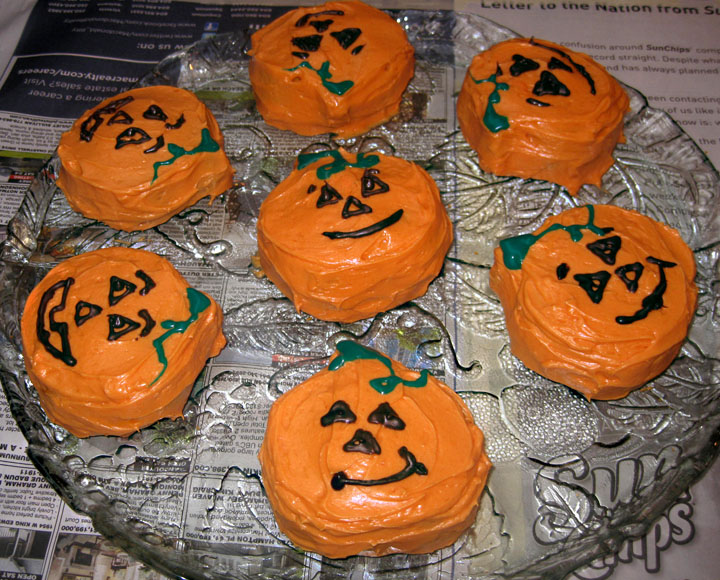
I was given a cute, mini pumpkin cake pan by Uncle Jim right before Halloween and decided to take it for a test drive. In addition to the standard baking staples, I always keep a white cake mix on hand and a block of cream cheese in the fridge. Philadelphia cream cheese seems to last forever, (it must be related to the Twinkie, because even when the date has passed, it’s always perfectly fine). When I found a can of pumpkin at the back of the cupboard mini pumpkin cakes with cream cheese frosting were born…wooohoo!!!!
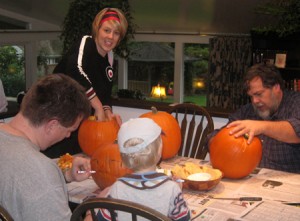 They were easy, yummy, and festive (what more could you ask for?). I used some old icing pens to draw the features on the pumpkins (which explains why they looked like my 2 year old drew them). They were iced in record time and my goal was accomplished. It feels good to let go of the perfection (that’s the old me). Now it’s all about the “doing”. The mini-cakes were a fun way to wind up our pumpkin carving party.
Note: The adults had more fun at the pumpkin carving party than the child did.
Another Note: If you use a cake mix you are supposed to get 24-28 mini cakes out of this Wilton cake pan. Somehow, I got only 9 which made me laugh pretty hard. I used too much batter and really had to trim the heck out of the cakes. I’ll do better next time.
Pumpkin Cake Recipe
This nifty little recipes is probably more appreciated by the adults than the kiddies. You can use a spice cake mix and omit the pumpkin spice if you like. This is not a light and airy cake. It is heavy and moist and tastes similar to a pumpkin pie in flavor.
Ingredients
1 (18.25 ounce) package white or golden cake mix
1 (15 ounce) can pumpkin
2 eggs
2 tsp pumpkin spice mix
Directions
- Preheat the oven to 350 degrees F (175 degrees C).
- Generously grease a 9×13 inch baking pan.
- In a large bowl, mix together the cake mix, canned pumpkin, pumpkin spice mix and eggs until well blended.
- Spread batter evenly into the prepared pan.
- Bake for 25 to 30 minutes in the preheated oven, or until a toothpick inserted into the center comes out clean.
- Cool and serve, or store in the refrigerator. This tastes even better the next day.
Cream Cheese Frosting
Ingredients
2 (8 ounce) packages cream cheese, softened
1/2 cup butter, softened
2 cups sifted confectioners’ sugar
1 teaspoon vanilla extract
Yellow and red food coloring
Directions
- In a medium bowl, cream together the cream cheese and butter until creamy.
- Mix in the vanilla and food colouring.
- Gradually stir in the confectioners’ sugar.
- Store in the refrigerator after use.
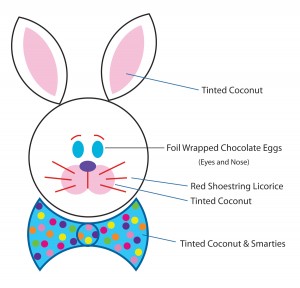 one day and decorate it the next). This type of cake improves in the fridge over night. Either way, you should give it a try. The kids (aged 3 and under) were in awe, while the adults just plain dove in. I wish all recipes could be as successful, which brings me to my annual Easter time baking flop.
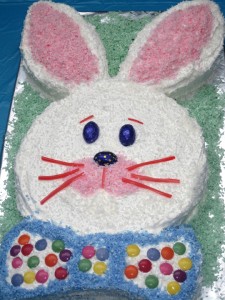
 Upon completion of these gems, I was horrified to learn that I had read the recipe wrong and added a whole package of cream cheese instead of the 3 oz the recipe called for…Oh the humanity….it was a crying shame! I vow to make these beauties again. Hopefully next year the taste will match the look.
